
The Tools and Methods Behind a Practical Stage Lighting Plot
Tom Whitfield explains the instruments, measurements and drawing habits he relies on when planning lighting for studio sets and live stages, from light meter readings to power load sheets.
6 minutes to read
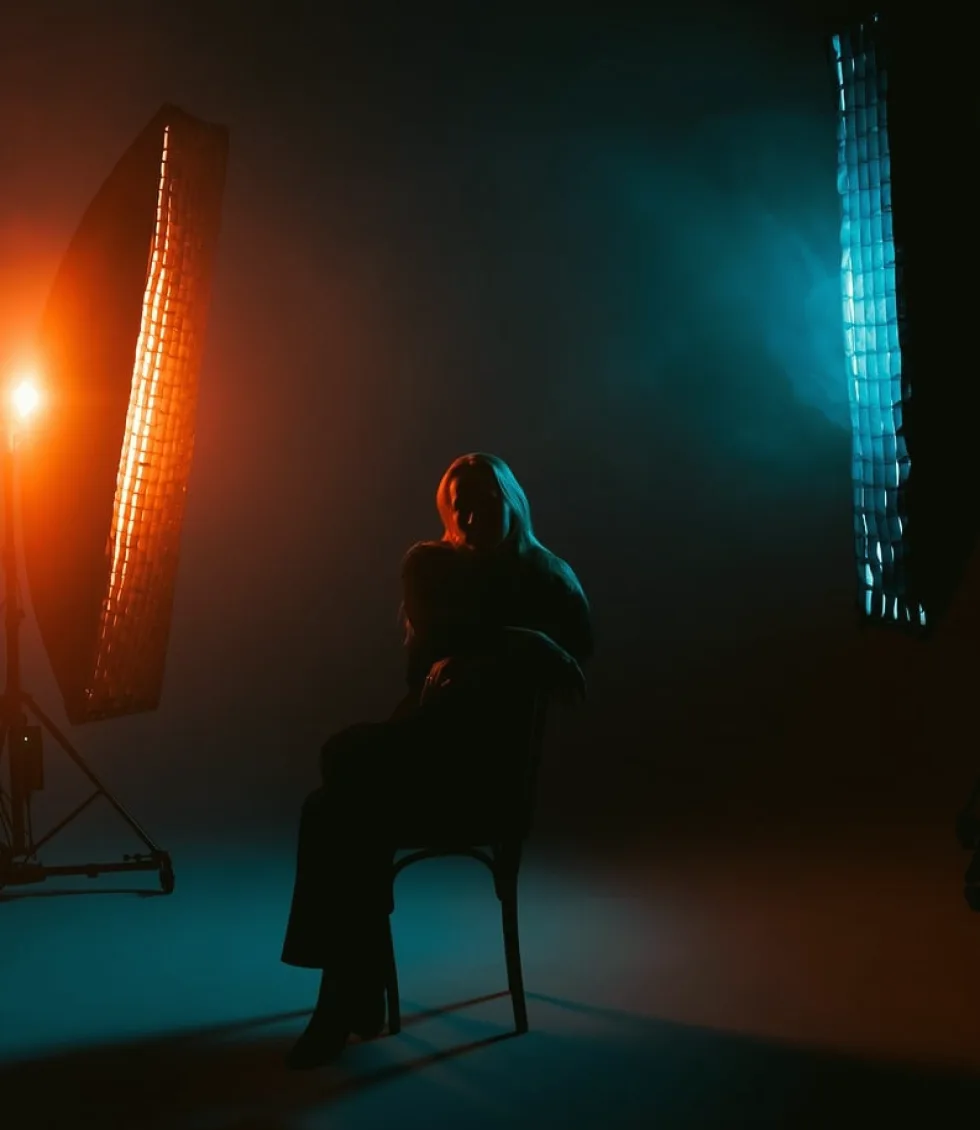
Starting with a measured room, not a guess
Every plot I draw begins with a tape measure and a notebook. Before any fixture is chosen, I record the trim height of the grid or bars, the distance from each set piece to the nearest wall, and the position of every camera at its working height. A plan taken from an old drawing can be several centimetres out, and that error becomes a shadow on a presenter's face once the rig is hung.
I also note what the room already imposes: pillars, air handling ducts, low doorways, floor surfaces that reflect or absorb. In mid autumn the studios I visit often have daylight leaking through loading doors at odd angles, and that matters for any set near an exterior wall.
The measured survey becomes a scaled floor plan and a side elevation. Working in two views is slow at first, but it is the only way to see whether a spotlight aimed at a desk will also spill onto the cyclorama behind it.
- Trim heights of bars and grid
- Camera positions and lens choices
- Reflective or absorbent surfaces
- Spill from doors, windows and signage
The light meter and the camera as measuring tools
A hand-held incident meter is the tool I trust most. I take readings at face height on each presenter position, then at the set background, and write them directly onto the plan. The ratio between key and background tells me far more than a comparison by eye, because the eye adjusts and the camera does not.
For colour, I check each fixture against a colour temperature meter before it goes up, since two lamps of the same type can sit a few hundred kelvin apart once they have aged. Mixing a tired lamp with a new one on a single face is a common cause of a picture that never quite matches between shots.
Finally I look at the camera's own waveform and vectorscope with the camera operator beside me. The meter says what the light is; the waveform says what the camera makes of it, and both are needed before I sign off a level.
Choosing fixtures by what the set actually needs
Fixture choice follows the brief for the picture rather than the catalogue. A soft, shadow-light look on a news desk calls for large diffused sources or panels with good colour rendering, while a drama set with hard pools of light needs focusing spots with shutters. I keep a short list of instrument types I know well and resist swapping them for something unfamiliar a week before recording.
Weight and heat count as much as output. A grid rated for a certain load cannot carry a dozen older tungsten units without checking, and the heat they give off changes the room temperature for crew and talent. LED instruments reduce both, though I still verify that their dimming behaves smoothly on the camera, since some cheaper drivers produce flicker at low levels.
Where a studio already owns a stock of fixtures, I plan around what is there before suggesting any purchase.
- Soft sources for desks and interviews
- Shuttered spots for hard-edged pools
- Grid load rating checked per bar
- Dimming behaviour tested on camera
Drawing the plot and the power sheet together
The lighting plot is a drawing, but it is only half the document. Alongside it I build a power sheet that lists every fixture, its wattage, the dimmer or circuit it sits on, and the running total per phase. Doing the two together stops the common situation where a rig looks fine on paper and trips a breaker at the first full rehearsal.
I leave headroom on every circuit rather than running them near their limit, and I mark which units can be switched off for a lower-energy mode between takes. Studios that run long days notice the difference on their electricity bills, and a lighter load is also kinder to the building's supply.
Each fixture gets a number that matches its label in the plot, its position on the bar and its channel on the desk. When a lamp fails during a show, the operator can find it by number in seconds, instead of by pointing.
Testing the rig before the crew arrives
Wherever I can, I run a short test with a stand-in under each key position before the full crew is called. A colleague sits at the presenter mark, the cameras frame up, and I walk the rig through its cues. Problems found at this point cost minutes; found during a recording, they cost the whole session.
I check that no fixture throws light directly into a lens, that cable runs stay clear of camera paths and that safety bonds and secondary cables are fitted on everything overhead. A rigged unit is not finished until its safety cable is on, and I will not leave the grid until I have seen each one.
The test also gives the camera operators time to adjust exposure and white balance against the real light, rather than against a promise on a drawing. Their comments often reshape a position or two, and the plot is revised and reissued.
- Stand-in at each presenter mark
- Lens flare and spill check
- Safety cables confirmed on all overhead units
- Revised plot reissued after the test
Keeping the plot useful after handover
A plot that lives only in my files is of little use to the studio that will run it for years. I hand over the drawing, the power sheet and a one-page note of meter readings per position, so a new lighting operator can reproduce the look after a lamp change or a re-rig.
I recommend marking focus positions on the grid with tape or paint where practical, and keeping a logbook of lamp hours so replacements are planned rather than reactive. Small habits like these keep a picture consistent from one month to the next.
When the studio changes a set, they can send me the revised floor plan and I will update the plot against the same measurement method. The tools stay simple on purpose: a tape, a meter, a waveform and a careful drawing, applied with the same discipline each time.
Good lighting planning rests on ordinary tools used consistently: a measured room, a meter, the camera's own scopes, and a drawing paired with a power sheet. None of it is exotic, and that is the point. A studio that can reproduce its look, trust its circuits and find any fixture by number spends its time making programmes instead of fixing the rig, which is the outcome I plan towards on every job.
Ask for a quote
- Phone
- 01223 480162
- Write to us
- [email protected]